Have you ever thought about how your beloved animated characters give emotional expressions and move naturally? There is a technology behind its magic and that is rigging.
So today we talk about what is character rigging, what are its techniques and what software is used for character rigging in 3D animation.
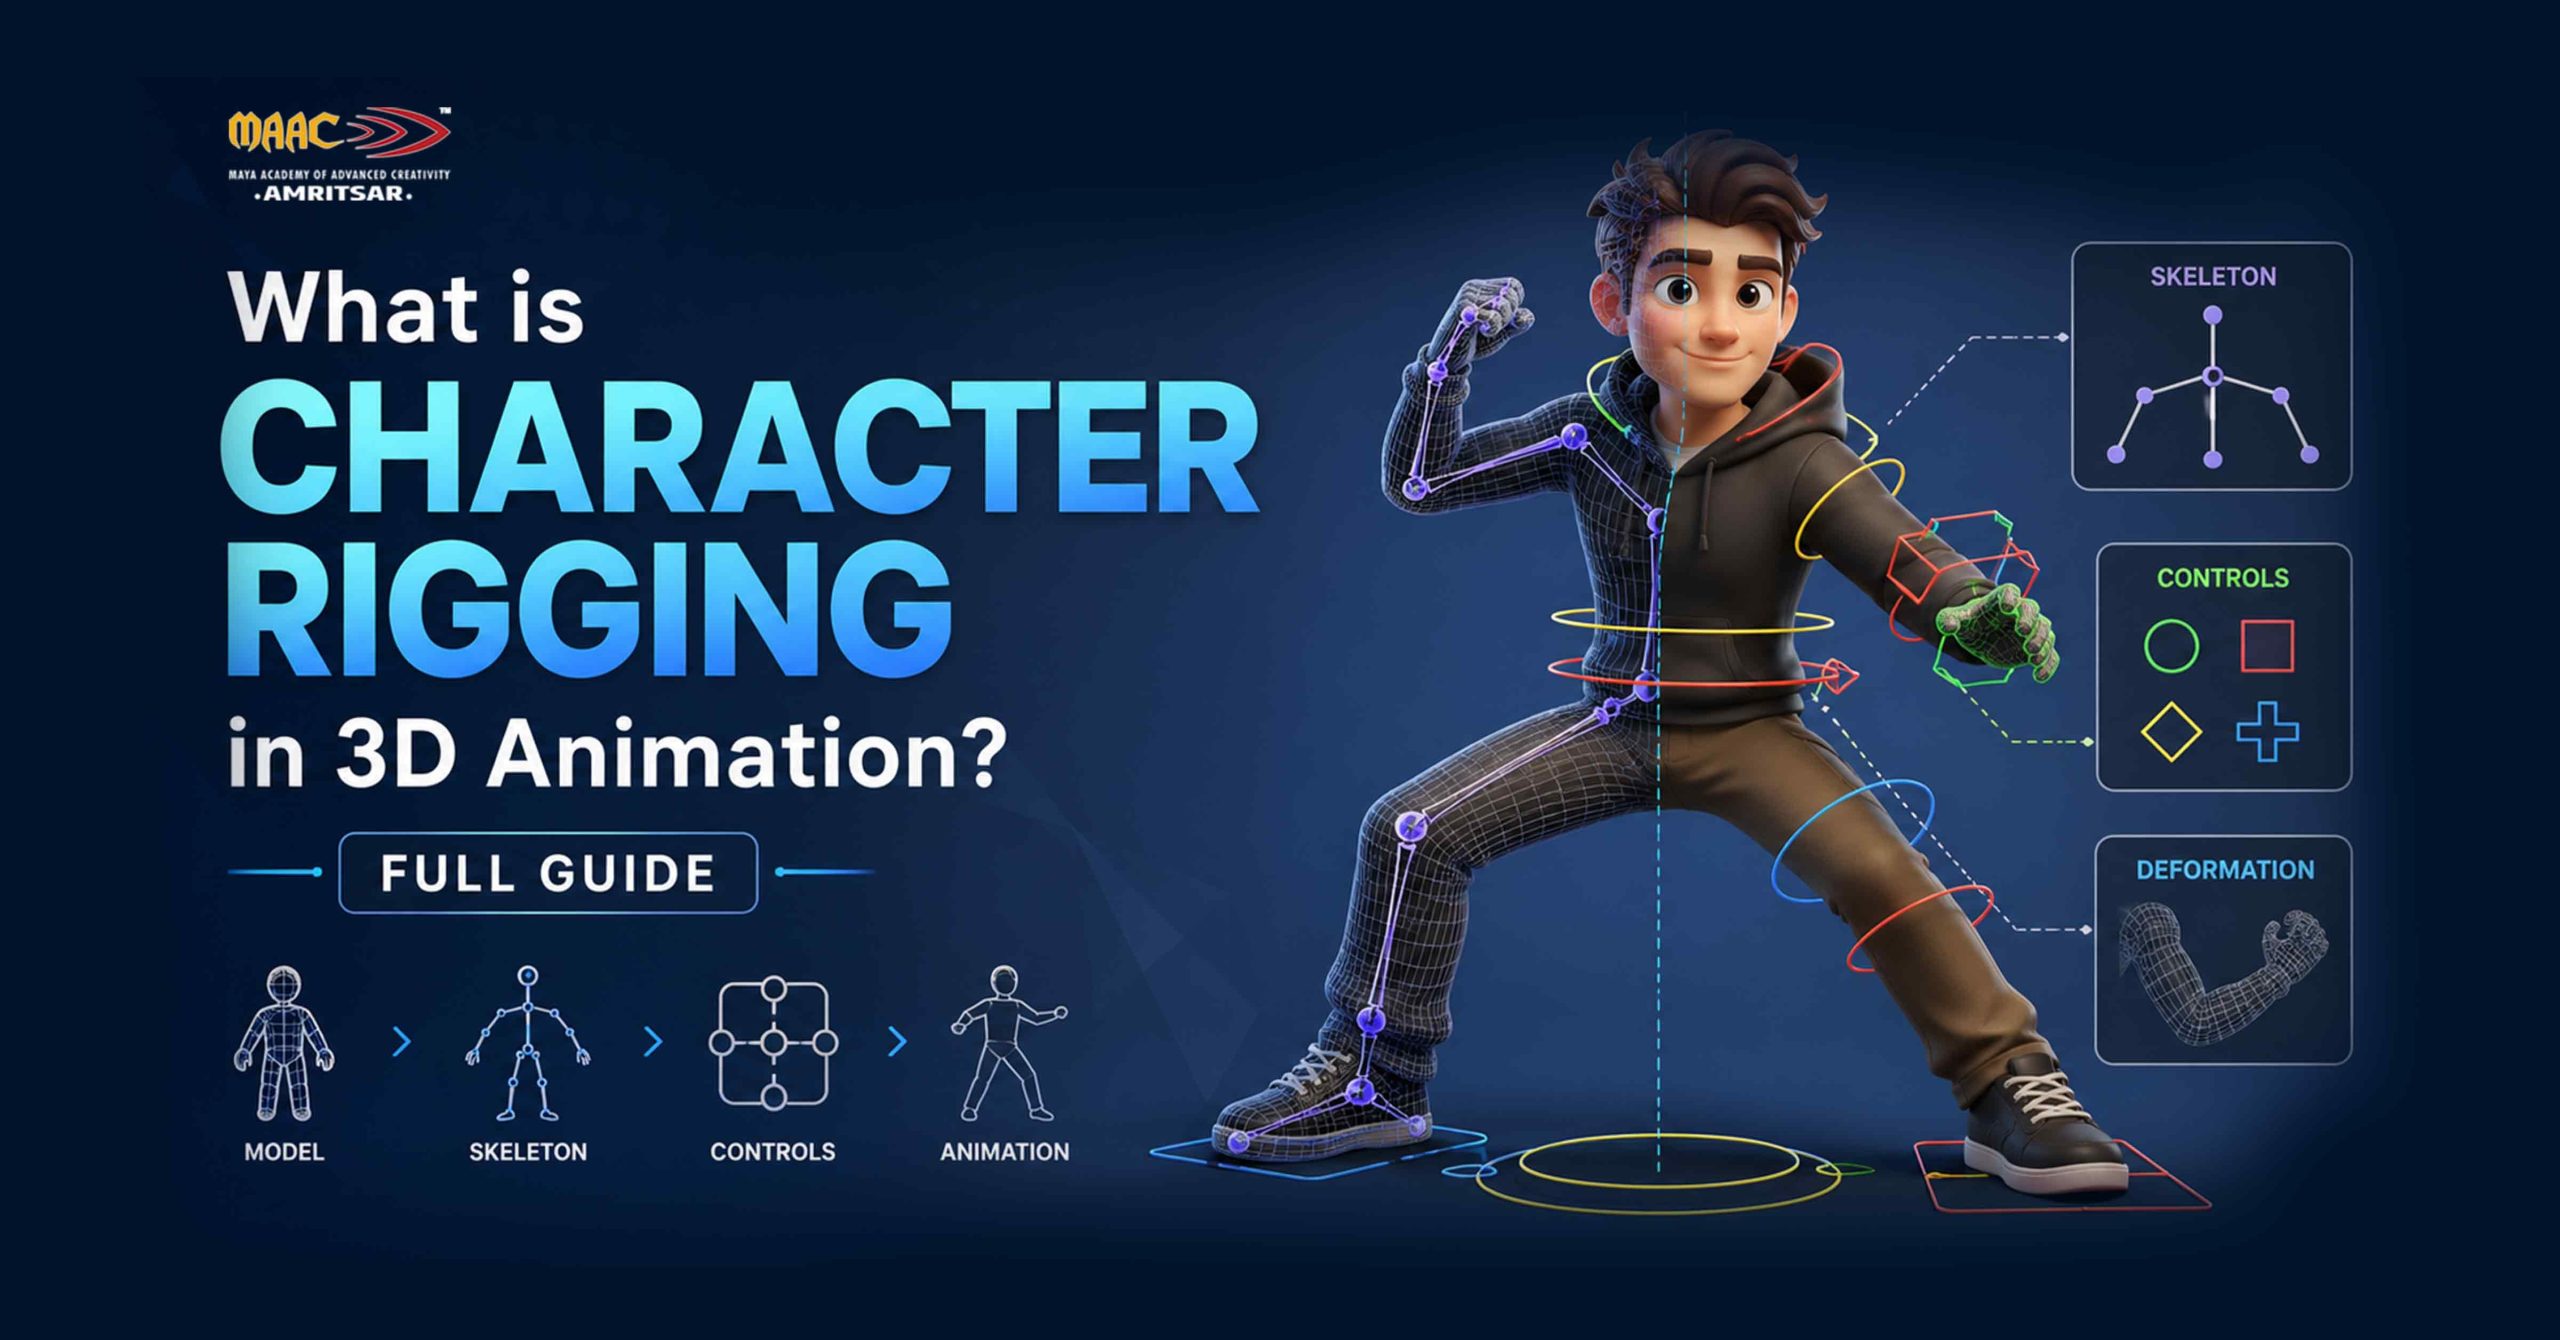
Character Rigging in 3D Animation
Character rigging is process of building internal skeleton and control system inside 3D character model so character artist can move it. Basically, rig includes bones, controller and joints that animators use to pose and animate character. Without rig, our 3D model is like frozen object that can’t walk, talk and express their emotions. Rig works as internal structure of 3D character model.
Imagine puppet, it has strings attached to its limbs and rigid framework of joints that control how it bends. 3D character works the same way. Instead of strings, it has digital skeleton made of bones and joints. Instead of puppeteer’s hand, it has controller objects that rigger designs specifically for animator to grab. The end result is character that can be posed in any position, animated frame by frame, and deformed naturally as it moves.
If you want to understand what is character rigging, you also need to understand what it is not. Rigging is not like modeling. The modeler creates 3D character model, surface geometry, and visual detail. Rigging happens after the process of model is complete. It is not animation either. The rigger builds the system. The animator uses it. These are separate disciplines, though many generalists learn both.
Why Character Rigging Matters in 3D Animation
Rigging is middle part of 3D production pipeline, its done after modeling and before animation. The modeler builds the mesh. The rigger builds the control system. The animator brings it to life. If any part of that chain breaks, your entire production slows down.
1. It Gives Animators Full Control Over Movement
Without rigging, animator would have to manually move thousands of individual vertices every time when character moves. That is not workflow, that is punishment for animator. Rigging replaces all of that raw geometry work with clean and easy to grab handles.
For example, in Monsters, Inc., animators worked with rigs that had hundreds of controls. Sulley’s rig alone had over 700 controls to manage fur, muscles, and expressions of character.
2. It Keeps Characters Consistent Across Scenes
Rig standardises how 3D character model deforms. Every shot uses same skeleton, same weight maps, and same controllers because consistency is very important in long productions like feature films, animated series, and AAA games where hundreds of shots must match.
3. It Connects to Every Other Stage of Production
Character rigging impacts more than animation. If you have poorly done rigging, it affects:
- Facial expressions
- Cloth simulation
- Hair movement
- Game engine performance
And it can slow down your entire production process. This is why riggers with strong technical foundations are valued across both small and large production teams.
4. It Enables Reusability
If you have done strong rig, you can reuse it for new character with similar proportions. Game studios and film companies mostly create rig templates. This reduces production time and ensures consistency.
For example, many AAA games reuse base rigs for multiple characters and then customize them slightly. This approach saves weeks of work.
Professional pipelines rely heavily on reusable rig systems to maintain efficiency.
What is the best software for character rigging in 3D animation?
Now rigging in 2D and 3D animation is done with specialised software and there are so many tools for users to choose from. We will review some of the most popular tools of character rigging for you.
Autodesk Maya
Maya software is mostly used for character rigging in gaming and film production. Tools like HumanIK, Advanced Skeleton plugin, and ngSkinTools for weight painting cover everything from biped rigs to complex creature setups. For big projects, major studios like Pixar and Blur Studio rely on Maya across their production pipelines.
This software offers easy to use features like QuickRig, in which users automatically scan models and define joints and bones.
Pricing: ₹10,719/month (annual subscription)
Blender
If you are looking for free software for character rigging then Blender is perfect option for you. With the help of Blender you can work on
- Armature system for skeleton setup
- Shape keys for facial rigging
- Rigify for auto rigging
Animators, students, and freelancers use Blender to build strong portfolios without software in budget. Its community is large and their free tutorials are genuinely good. For beginners who start 3D animation maker Blender, it is their first choice.
Pricing: Free
Also Read: Blender vs Maya: Which Software Is Better for Beginners in 2026?
Cinema 4D
Cinema 4D’s Character Object tool makes basic rigging easier for motion designers. It is better suited to motion graphics work than to complex game and film character rigging. This tool is easier to learn as compared to MAYA. If your main work is broadcast and motion design then Cinema 4D is good to consider.
Pricing: ₹93,412 (annual plan)
Houdini
This software is mostly used for procedural workflows. Houdini uses procedural approach to rigging through its KineFX system which lets riggers handle skeletal animation and simulation in same node graph. For VFX heavy projects where rigging interacts with simulations, they use Houdini. It is not first tool beginner should learn but it is powerful for technical riggers in film VFX.
Pricing: For learning and non commercial use, it is free.
Unreal Engine and Unity
Both engines handle real time rigging and animation retargeting. Unreal Engine’s Control Rig tool has become serious option for virtual production and game development workflows. If you are targeting game studios and real-time productions, you need to know at least one of these alongside your primary 3D software.
Pricing:
- Unreal Engine (Free)
- Unity: For gaming and entertainment applications only its free.
Important Character Rigging Techniques You Need To Know
So lets discuss how character rigging process actually works? Here are main character rigging techniques that every beginner and intermediate should know.
Building the Skeleton (Bone Placement)
This is foundation layer of every character rig. Joint placement determines how the mesh deforms when the character moves. The rule is simple:
- Put joints where real bones and pivot points are.
- The elbow joint goes at the elbow.
- The wrist joint goes at the wrist.
- The spine chain follows the actual curve of the spine.
The number of joints in rig varies by production type. For example in game character might use 50 to 80 bones to stay within real-time performance budgets. And in film character built for close-up work might use hundreds with separate joints for each finger knuckle, eyelid, and lip segment.
Mostly beginners do this common mistake that is placing joints too far from the mesh surface. That produces unnatural deformation the moment the joint rotates. Getting joint placement right from start saves hours of weight painting work later.
Forward Kinematics and Inverse Kinematics
FK means rotating each joint in chain from parent to child. Move shoulder, then elbow, and then wrist. Animators use FK for arm swings, spine arcs, and tails because it produces natural and predictable arcs of motion. Follow through and overlapping action are easier to control with FK.
IK works in opposite direction. You move the end point (hand/foot) and rig automatically solves the position of every joint in the chain. Foot IK is standard in every character rig for both games and film. It lets character’s feet stay planted on the ground as body moves which is something FK alone cannot do efficiently.
Skinning and Weight Painting
Skinning binds mesh to the skeleton. Weight painting controls how much influence each bone has over nearby vertices. At this point, most beginners run into problems. Bad weight painting produces mesh tearing at armpit, pinching at knee, and collapsing geometry at elbow.
The elbow is perfect example of why this is hard. The area between upper arm bone and forearm bone needs careful weight balancing. Too much weight on one bone and mesh collapses when arm bends. Weight painting takes practice and getting it right is one of the skills that separates average riggers from good ones.
Control Rig Setup: Controllers
Controllers are visual handles that animators actually click, grab, and move. They sit on top of the skeleton in viewport but do not render in the final image. Good controllers:
- Are easy to select
- Have clear functions
- Reduce animation time also.
Effective rig totally depends on well designed controls.
Facial Rigging
Facial rigging uses two main approaches:
- bone-based
- blend shape based.
Blend shapes produce smoother facial deformations and are common in film production.
Bone based facial rigs are more efficient in real time environments like games.
Many studios follow the FACS system to create realistic facial movements when building facial rigs. FACS defines specific muscle movements behind every human expression, giving riggers detailed anatomical reference to work from.
Constraints and Driven Keys
Constraints lock one object’s behavior to another. Lets take example of eye constraints which keep character’s eyes tracking target object regardless of head rotation.
Driven keys automate secondary motion. Single slider control can curl all five fingers simultaneously when you set up right driven key relationship. These tools are what make rig feel smart rather than mechanical.
Learn Character Rigging at MAAC Amritsar
Learn character rigging without structured training and you are likely to spend lot of time stuck on problems that an experienced instructor could solve in ten minutes. Self-learning rigging is possible but most beginners do common mistakes like broken IK chain they cannot diagnose, gimbal lock they cannot fix, and mesh deformation errors they cannot read. These problems are solvable with guidance only.
MAAC Amritsar (Maya Academy of Advanced Cinematics) offers professional 3D animation training with character rigging as core module. The curriculum runs on same software used in film and game studios worldwide.
Their rigging training covers:
- Full skeleton setup and bone hierarchy from ground up
- Skinning, weight painting, and deformation troubleshooting on real character meshes
- IK and FK systems and control rig design built around production standards
- Facial rigging using blend shapes referenced against FACS
- Project based assignments built around real production workflows, not toy examples
MAAC has trained animation students across India for over two decades. Their Amritsar centre serves students from Amritsar, Ludhiana, Jalandhar, and across Punjab who want to make career in animation.
If you are looking at animation courses after 12th, rigging is one of the most technically demanding and in-demand skills in animation industry. If you start with structured training on industry standard tools that puts you in stronger position than piecing together free tutorials
Want to learn character rigging with industry standard tools?
Lets Wrap Up
Character rigging is what turns 3D character model into something studio can actually animate. Rigging is also one of the more job secure skills in animation. Studios always need riggers. They can survive with slow animator but it cannot survive with rig that breaks every other scene. If you want to master character rigging using professional tools and workflows then get guided training can save months of trial and error.
Leave a Reply